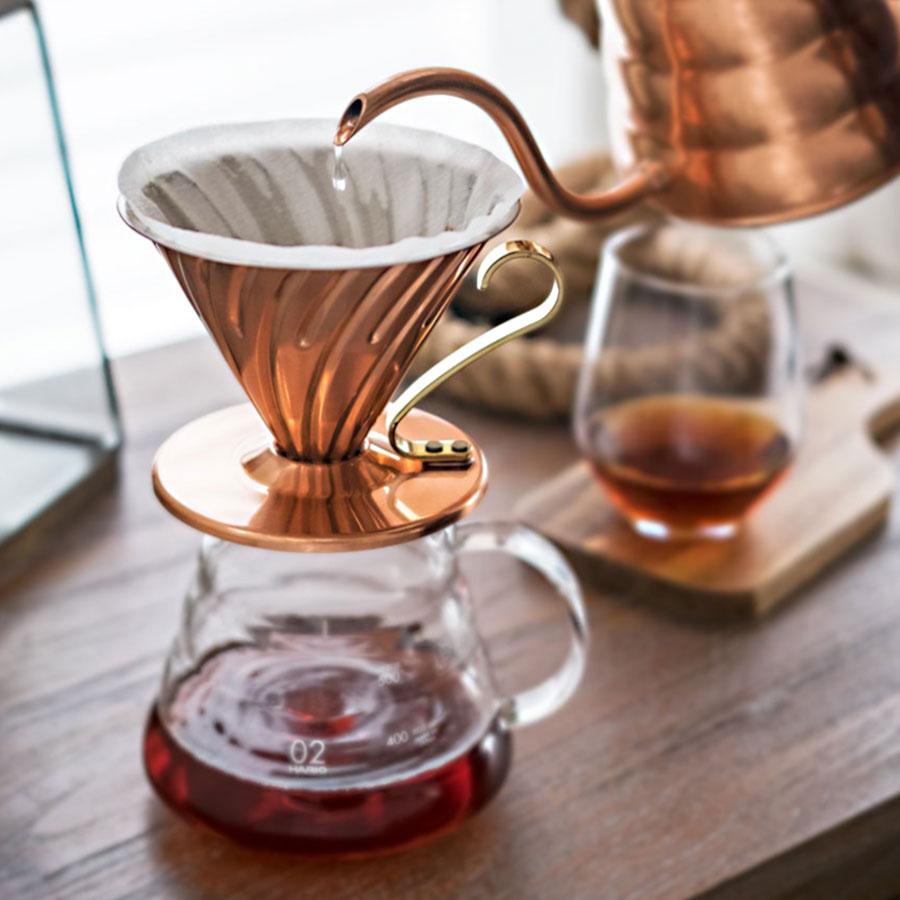
La Hario V60 est sans doute la cafetière à piston la plus populaire sur le marché aujourd'hui, et pour cause : elle permet de préparer une délicieuse tasse de café, elle est facile à utiliser et elle est vraiment amusante ! Et bien que votre barista local puisse rendre le processus intimidant, si vous suivez ces conseils professionnels, vous pourrez préparer un café artisanal de qualité en un rien de temps.
En plus de l'égouttoir à café Hario v60, vous aurez besoin des éléments suivants.
- Filtres à café en papier Hario V60
- 25 grammes de votre café préféré
- 400 grammes d'eau, plus un peu d'eau pour le pré-mouillage du filtre
- Carafe
- Minuterie
- Bouilloire, de préférence une bouilloire à col de cygne
- Un barème
- Moulin à meules
1. Chauffer l'eau
L'eau doit être portée à 200 degrés. Utilisez un thermomètre ou, si vous n'en avez pas, portez l'eau à ébullition, puis laissez-la reposer pendant environ 30 secondes pour qu'elle atteigne 200 degrés.
2. Mesurer et moudre 25 grammes de café (moyennement fin)
Choisissez vos grains de café préférés. Nous recommandons une torréfaction plus légère et un café à l'acidité et à la saveur élevées. Et c'est parti pour les saveurs !
Une mouture moyenne à fine sera légèrement plus grossière que le sel de table. Lorsque vous préparez un café à verser, nous vous recommandons de moudre votre café immédiatement avant de commencer l'infusion. Si votre café est moulu trop tôtSi votre café est moulu trop tôt, il perdra une grande partie de sa saveur et de son arôme.
3. Filtre à plis V60
Plier le bord plat du filtre en papier V60 ; placer le filtre dans le goutte-à-goutte ; placer le goutte-à-goutte sur la carafe.
L'un des avantages du V60 est qu'il peut être infusé directement dans une tasse, un gobelet ou une carafe, ce qui facilite le nettoyage.
4. Filtre pré-humidifié
Le pré-mouillage du filtre permet d'éliminer une partie des résidus de papier, ce qui permet d'obtenir une infusion plus propre. En outre, cela permet de sceller le filtre aux parois du goutteur et de préchauffer le récipient dans lequel vous infusez. N 'oubliezpas de jeter cette eau avant de commencer à infuser !
5. Ajouter du café et tarer la balance
Ajoutez votre café et secouez doucement la V60 pour déposer la mouture sur une surface plane, également appelée lit de café. Cela permet d'obtenir une extraction plus régulière en évitant la formation de flaques d'eau.
Placez-la sur votre balance et tarez-la à zéro. L'objectif est d'obtenir 300 à 400 grammes d'eau pour une durée d'infusion de 2 à 3 minutes.
6. Le fleurissement
Ajouter juste assez d'eau pour saturer uniformément le café moulu. Laissez reposer pendant 45 secondes. C'est ce qu'on appelle le "bloom", qui déclenche une réaction chimique par laquelle les gaz sont purgés du café moulu.
Si vous ajoutez toute l'eau immédiatement, ces gaz resteront piégés dans le café et en altéreront le goût.
7. Verser l'eau restante
Lorsque la minuterie indique 45 secondes, ajoutez continuellement de l'eau au lit de café. Pour ce faire, versez lentement de l'eau en décrivant des cercles en spirale autour de la circonférence extérieure du cercle où se trouve votre café.
Ne versez pas l'eau directement sur le filtre et ne laissez pas le niveau d'eau s'approcher trop près du bord supérieur du goutteur.
Arrêtez de verser une fois que vous avez ajouté 400 grammes d'eau. Cela devrait prendre environ une minute.
8. Laisser l'eau s'écouler
Une fois que l'eau a fini de s'écouler à travers le filtre, vous êtes prêt à déguster votre café !
Du début à la fin, cela devrait prendre entre 2:15 et 2:30. Si le temps total est nettement supérieur à cette fourchette, vous devrez ajuster la grosseur de la mouture de votre café.
Lorsque vous avez terminé, jetez le filtre en papier usagé et le marc de café. Voilà, c'est fait ! Il est temps de vous détendre et de savourer votre café.


