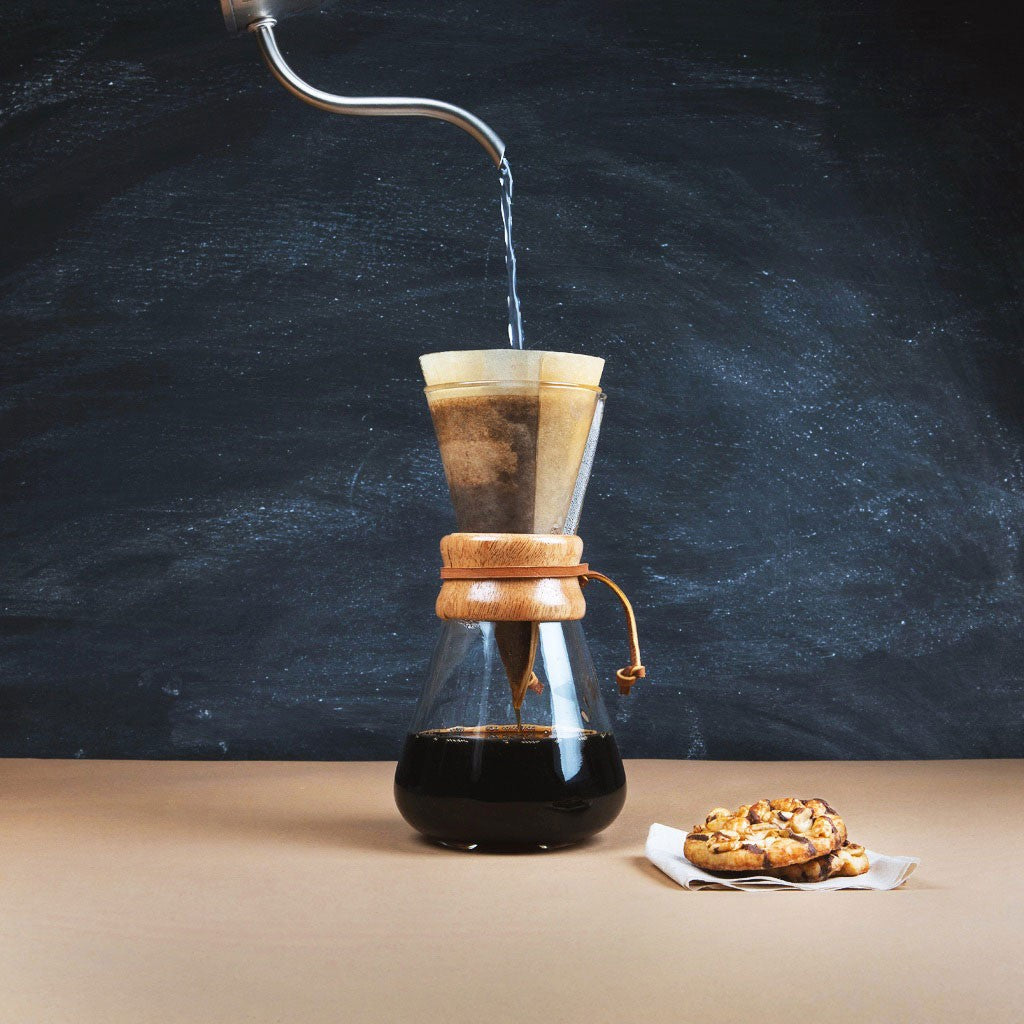
You could make a cup of coffee like any average joe, or you could be a caffeinated Jedi and learn how to brew coffee with a Chemex. Trust us, you want to do the latter. However, learning how to brew with the Chemex requires a guide, and we’ve got you covered here step by step!
The Interesting History Of The Chemex
Dr. Peter Schlumbohm was the chemist who graced the world with the Chemex in 1941. Dr. Schlumbohm went against the grain of the mid-20th century by inventing a new product based on elegance and simplicity instead of complexity and flashiness. He managed to invent the Chemex using just a single hour-glass shaped flask of glass and a paper filter.
Regardless of whether you’ve known about the Chemex for ages or are just now wanting to brew your first cup with it, it’s something of an art and a science. If you still haven't gotten your hands on this elegant pour-over coffee gear head over here!
1. Get The Right Grind
It’s not enough just to have “ground coffee” for your Chemex. “Ground” is a very subjective term for particles that could vary in size from the chunks you see in rock salt to the fine dust of powdered sugar.
Grab a grinder of your choice (burr grinders are usually recommended for a Chemex), and grind 50-57 grams of coffee to medium-coarse. Don’t worry if it takes a few attempts to get it right.
2. Fold Your Filter
Make sure the channel at the left is clear – otherwise your coffee will bubble over. It's the little spot that'll act like a coffee highway once the brew is done.
The Chemex style of folding the coffee filter throws people for a loop more often than not. It isn’t necessarily rocket science, but it is different than the average filter you throw into the top compartment of your normal countertop coffee maker. They’re unconventional, but their double bonded paper filters are key to a well extracted cup of coffee with less bitterness.
The traditional Chemex filter comes as an unfolded circle. Simply fold the circle in half once, so it looks like a half moon. Then, fold that half moon in half again. Now your filter should look like a triangle with a curved bottom base made up of layers.
Look at the layered side of your triangle and separate the 3rd and 4th layer with your fingers and open them up. You should now have a cone filter in front of you with one side made of a single layer of paper and the other side having 3 layers.
Of course, you can also find pre-folded Chemex filters in square as well as round. These greatly simplify the morning ritual (to my mind, an essential part of any task which, of necessity, precedes the consumption of coffee).
Rinsing your filter is essential to ensure a quality cup of coffee. Once you’ve placed the filter in the Chemex, run some of your boiled water through it before you add the coffee. (To become a Chemex Jedi master, work on doing the rinse and pour in 30 seconds, and you'll let the water come to the right temperature without wasting time).
Don't forget to drain the excess water. It’ll keep the paper taste from your coffee as well as seal the filter to the Chemex.
3. Fine Tune Your Ratio
At this point, you’ve got your medium-coarse ground coffee and your layered paper filter primed and ready in the Chemex. The only thing left is to dump in some coffee and pour, right? Not quite! You’ve still got to hone in the most important element—the coffee to water ratio.
The general rule of thumb is to add two tablespoons for every one cup (6 fluid ounces) of water. Some people recommend adding one additional tablespoon for every cup afterwards, but it’s really just a matter of preference. Two tablespoons per cup is still a safe bet if you prefer stronger coffee.
4. Pour Water
Finally, the moment you’ve been waiting for! Add your ground coffee to the Chemex filter, according to the amount of cups you want to make and the ratio above, and add the proper amount of water. 55 grams of coffee and 1 liter (1000 grams) of water is a good ratio for the 6-cup Chemex, yielding enough coffee for two thirsty people. Let the water stand for 30 seconds after it stops boiling before pouring – this will get you within the temperature of 195-205 F (90-96 C) for best extraction.
Now, start your timer! For your first pour, just wet the grounds evenly (if you're brewing on a scale, add about twice as much water, by weight, as you have coffee). Let them stand for 30 seconds. This is called blooming: it releases carbon dioxide from the grounds, as well as a great aroma. It also primes your coffee grounds so that they will extract more evenly and more fully.
For your second pour, work slowly from the middle, pouring in concentric circles working outwards towards the edge of the Chemex. Keep the water level just barely below the top, and keep in mind your exact pour time will vary depending on the amount of coffee you’re making.
A 6-cup Chemex recipe requires spreading your pours out over a 2:30 span, for a total brew time of around 5 minutes. Obviously if you’re brewing less coffee, you’re looking at a far smaller window.
Another rule of thumb: if you're brewing a 1-liter pot of coffee (for guests, or for two people in serious need of caffeination), observe the little belly-button on the front of the Chemex. It's there as a guide: when you see the coffee at the top of the button, add one final pour to the top of the filter cone, and you'll be within a few grams of the perfect 1-liter pour. (And when you really, really need that first cuppa, this is much easier than counting grams or seconds…)
5. Enjoy!
When all is said and done, and all your water has successfully drained through the filter, discard the filter, pour the coffee, and enjoy a finely-brewed Chemex – you've earned it!


